
Install instructions
Starlink Mini Mount for Milwaukee Packout – MoreLock Series
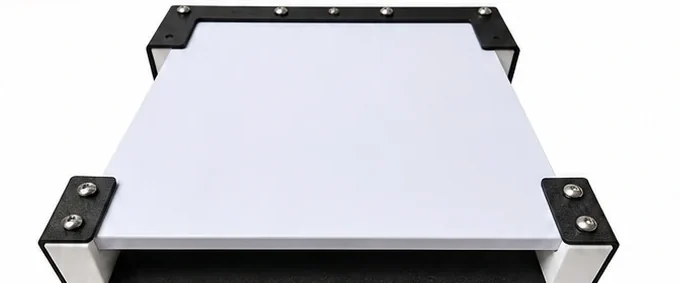
Finished install (rear view)
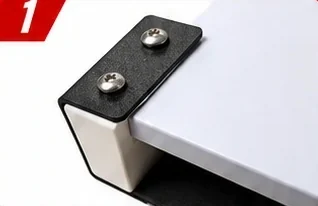
Step 1 – Remove the corner pieces
On each side, remove the 2 screws and slide out the plastic insert.
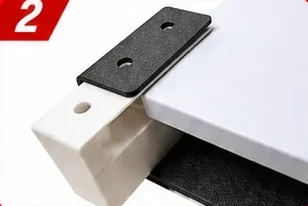
Step 2 – Install the Starlink Mini
Place the Starlink Mini into the slots on the mount.
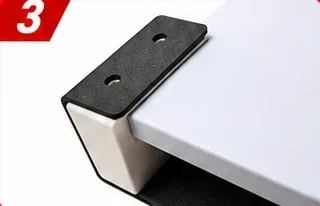
Step 3 – Re-install the corner pieces
Slide the plastic inserts back in and re-install the (2) screws on each side.
Do not use impact power tools. They can snap the nut off the bottom of the mount.
Good to know
- Orientation – Install the Starlink Mini so its plug holes are visible from the rear of the mount.
- Magnets (optional) – Thread them into the nut on the bottom of each Packout foot. For a more flush mount, remove the Packout feet and install the magnets in the 8mm nuts on the bottom of the mount.
- Security tether (optional) – Secure one end into one of the 5mm nuts on the bottom of the mount and attach the other end to your vehicle or setup.
- Battery compatibility – Designed to work with the PeakDo battery and others of similar size.
- Packout installation – Thread the included knob into the big 5/16" nut on the front of the mount. After you lock the mount into the Packout, turn the knob until it locks it into the Packout box.
Questions? Contact us and we will help.