Can-Am X3
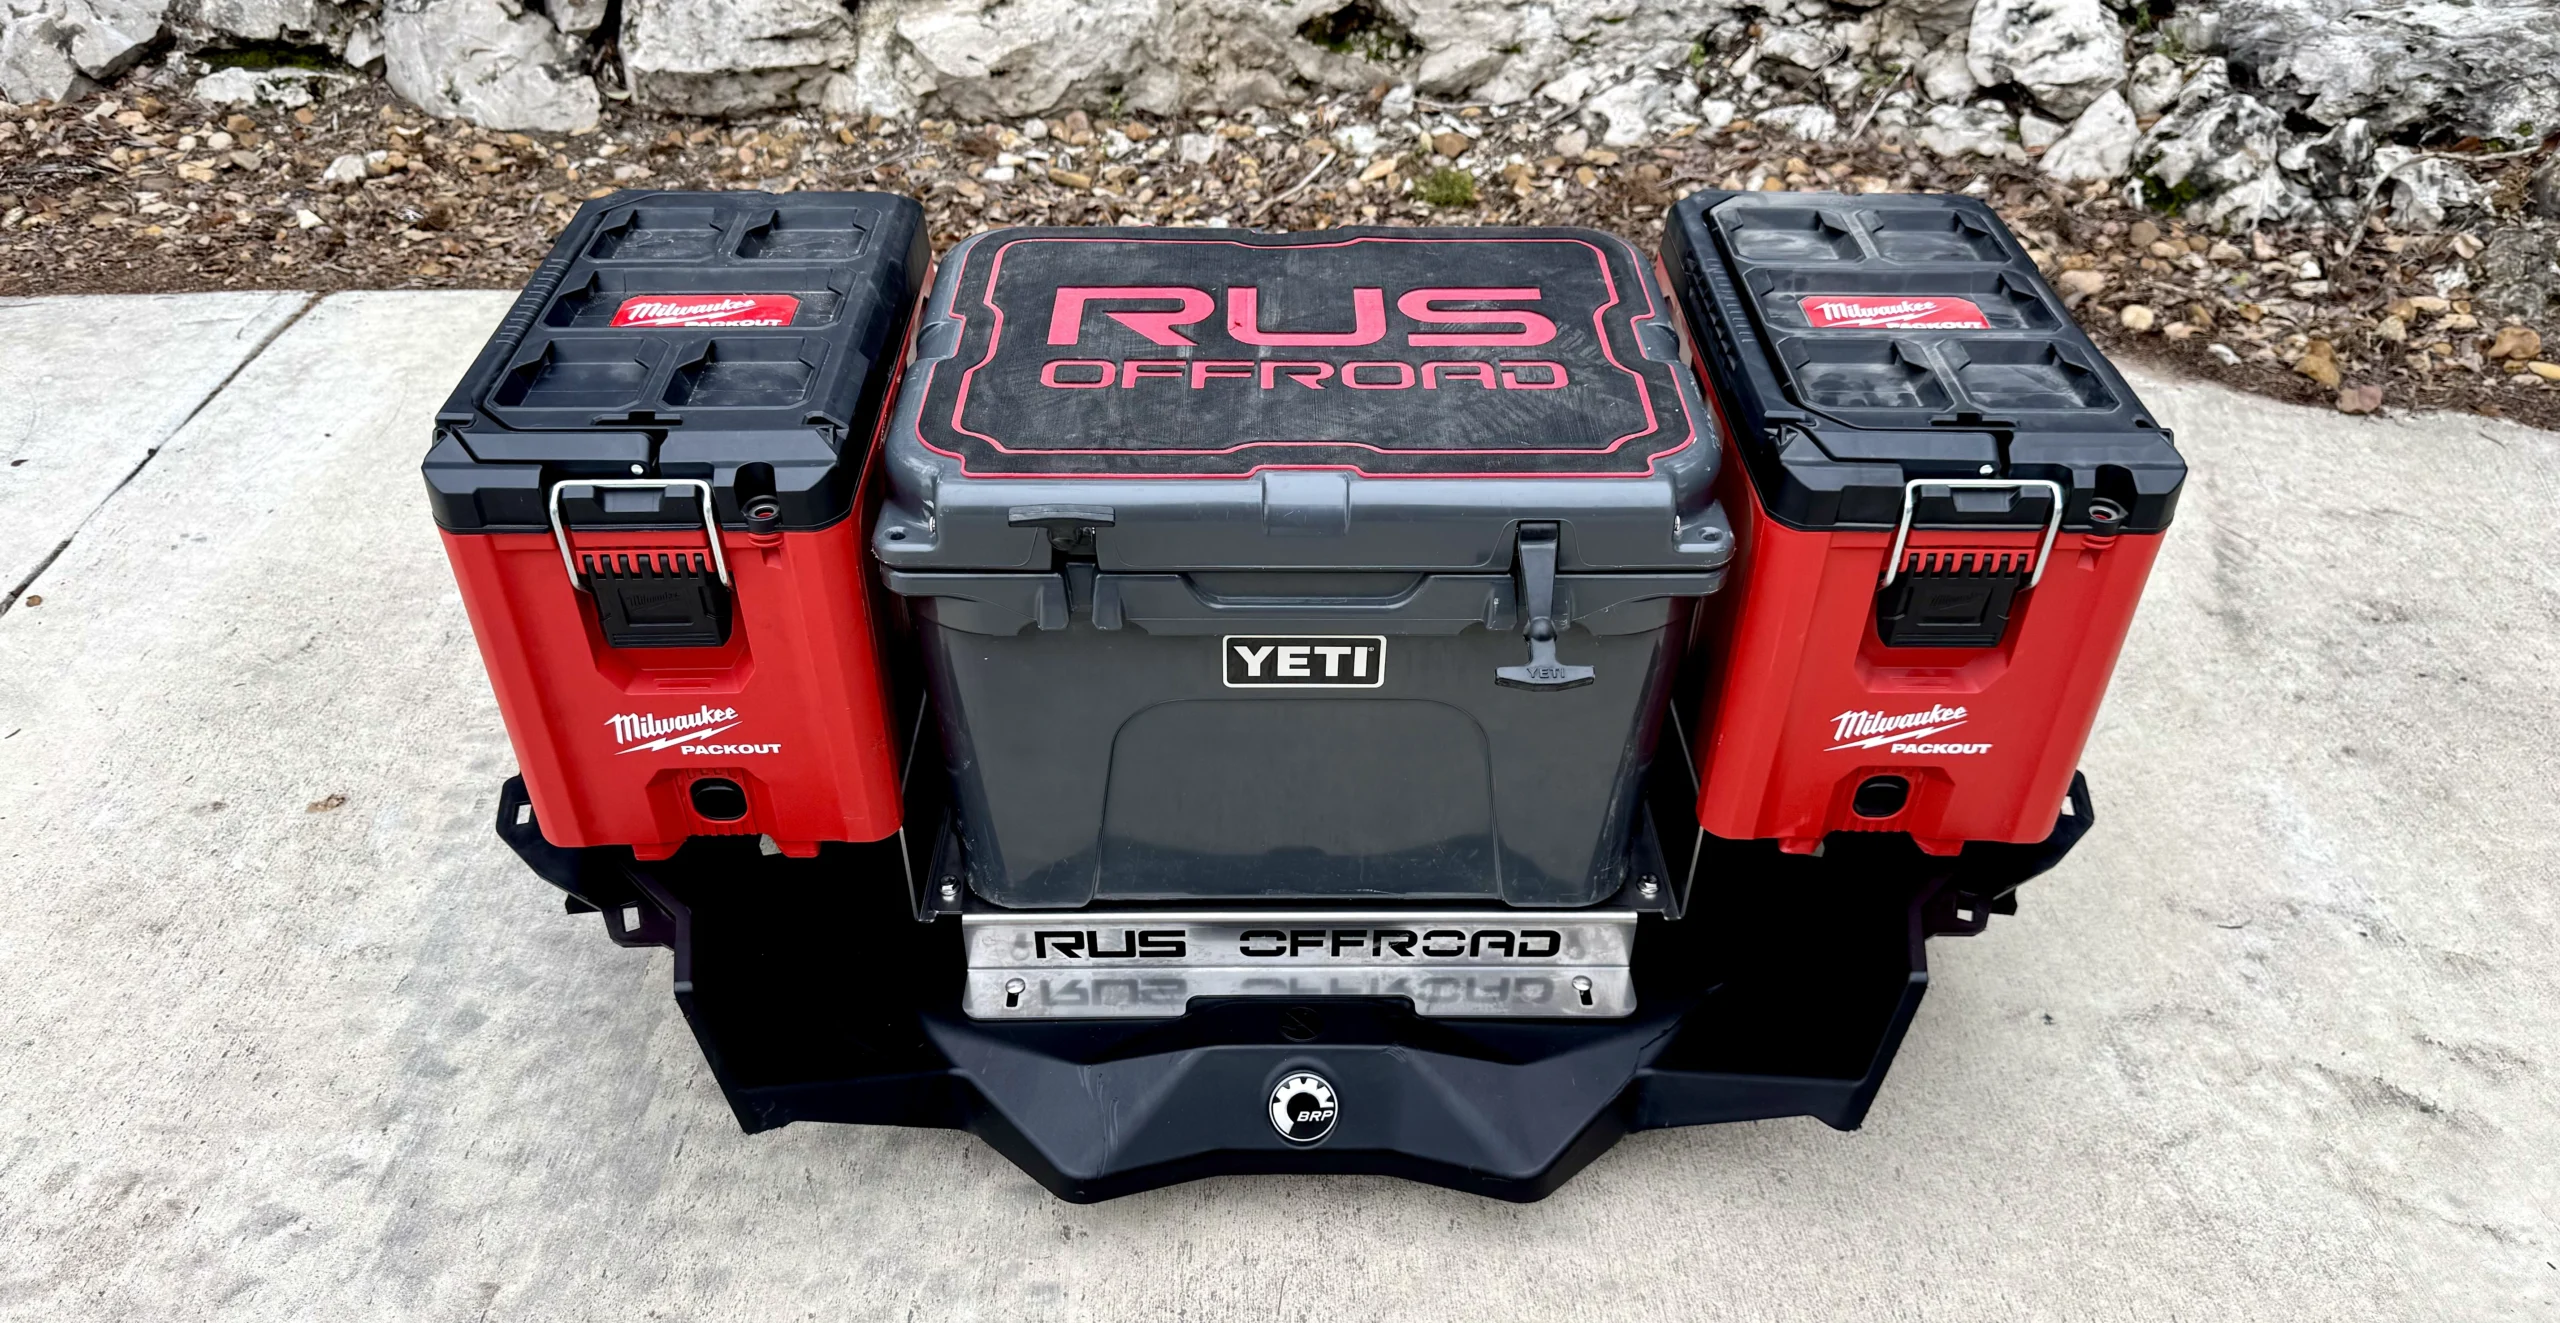
Yeti 35 + Dual Packouts
These instructions for Can-Am X3 ONLY
Please read these notes before installing
- Check all bolts and anchors before each ride to ensure everything is still snug.
- Only works with Milwaukee Packout Compact Boxes
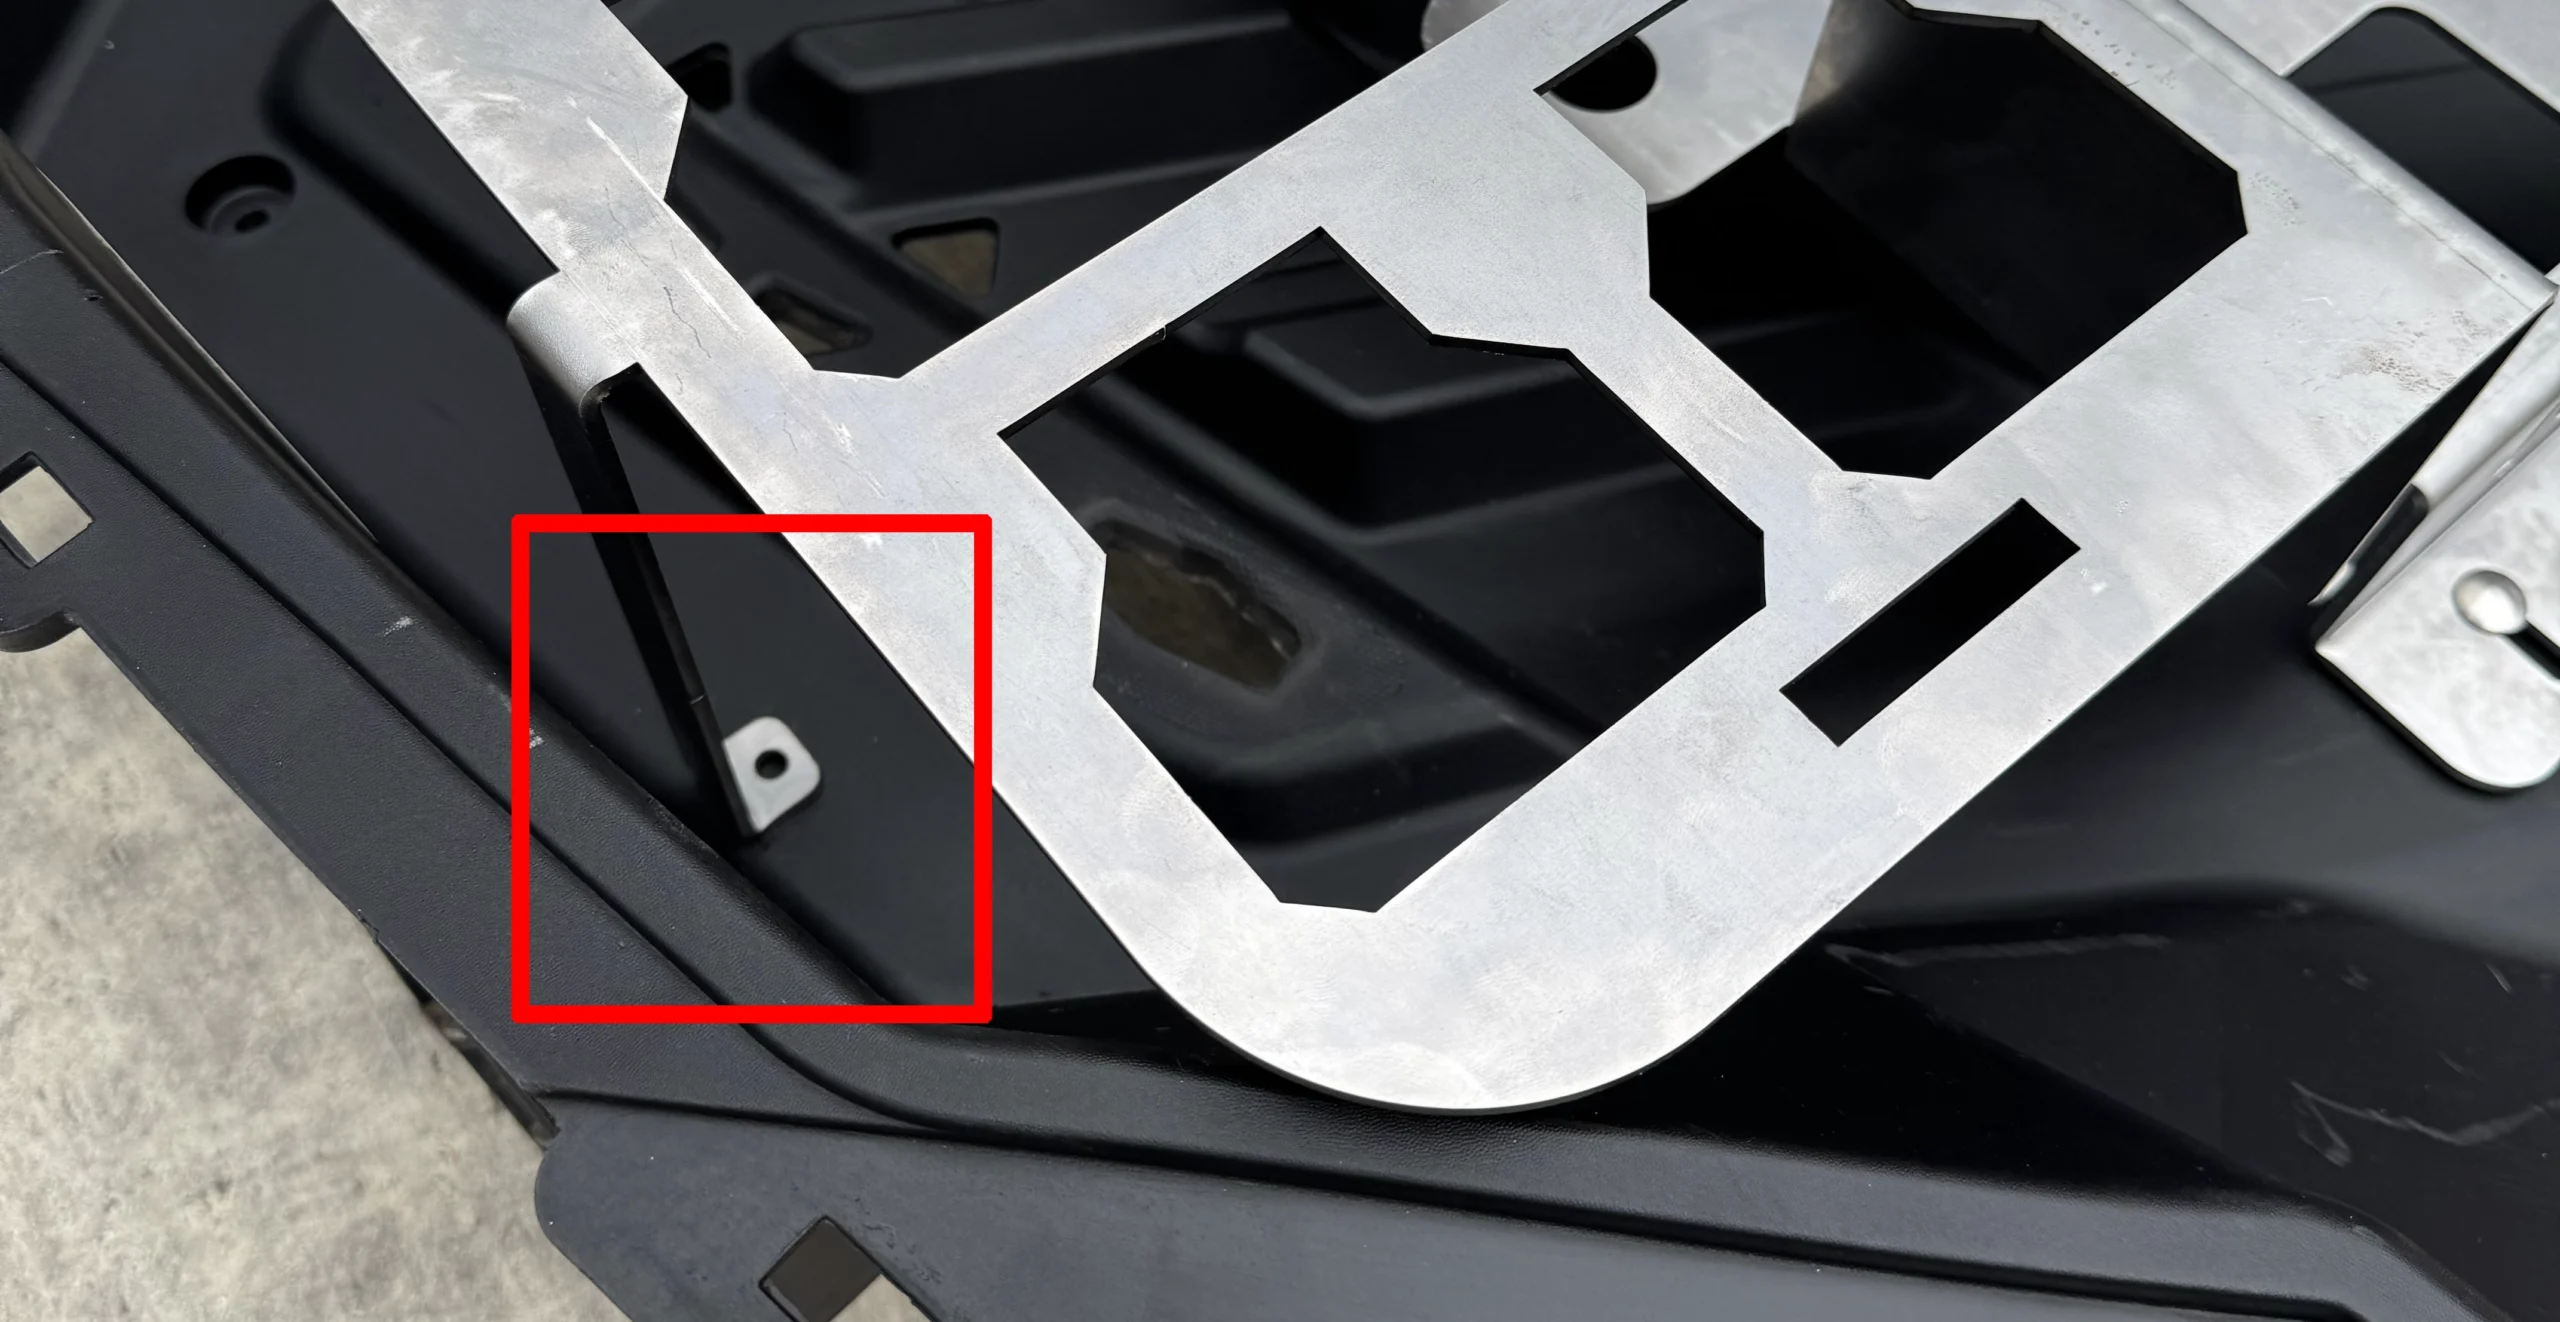
- Drilling holes is optional, but recommended for Step 8.
- You can assemble the mount before setting in bed.
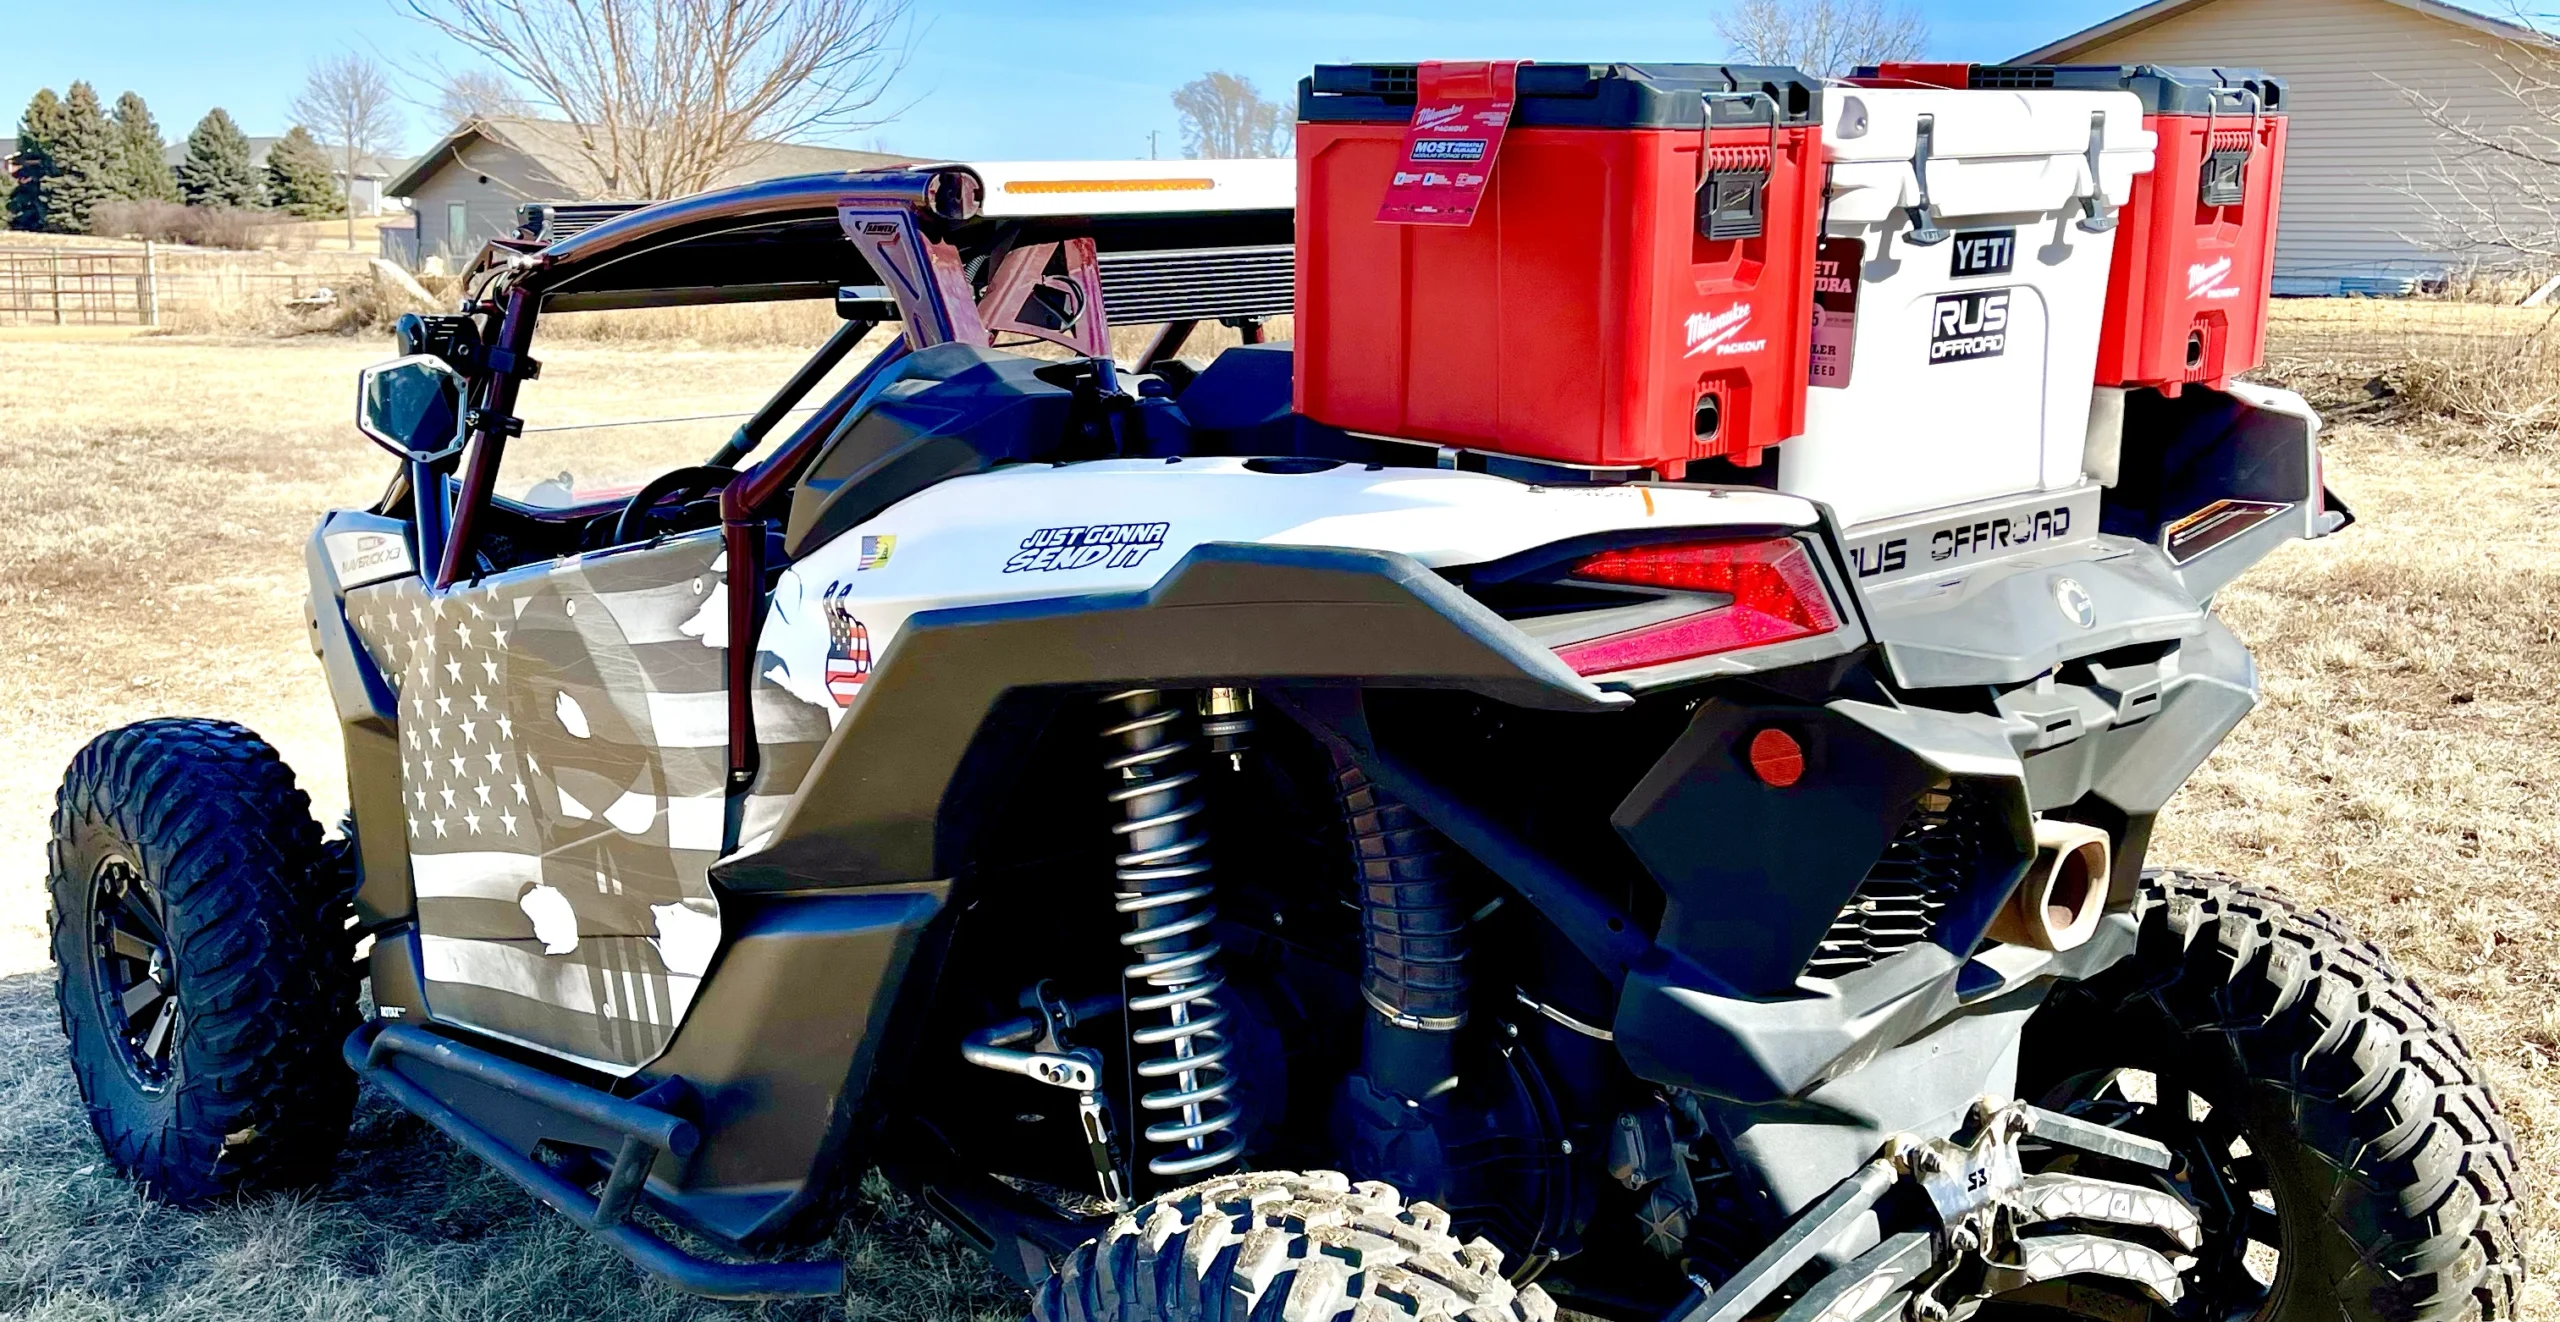
REMOVAL OF BED IS NOT REQUIRED FOR INSTALL
We just did it to make these instructions.
Step 1
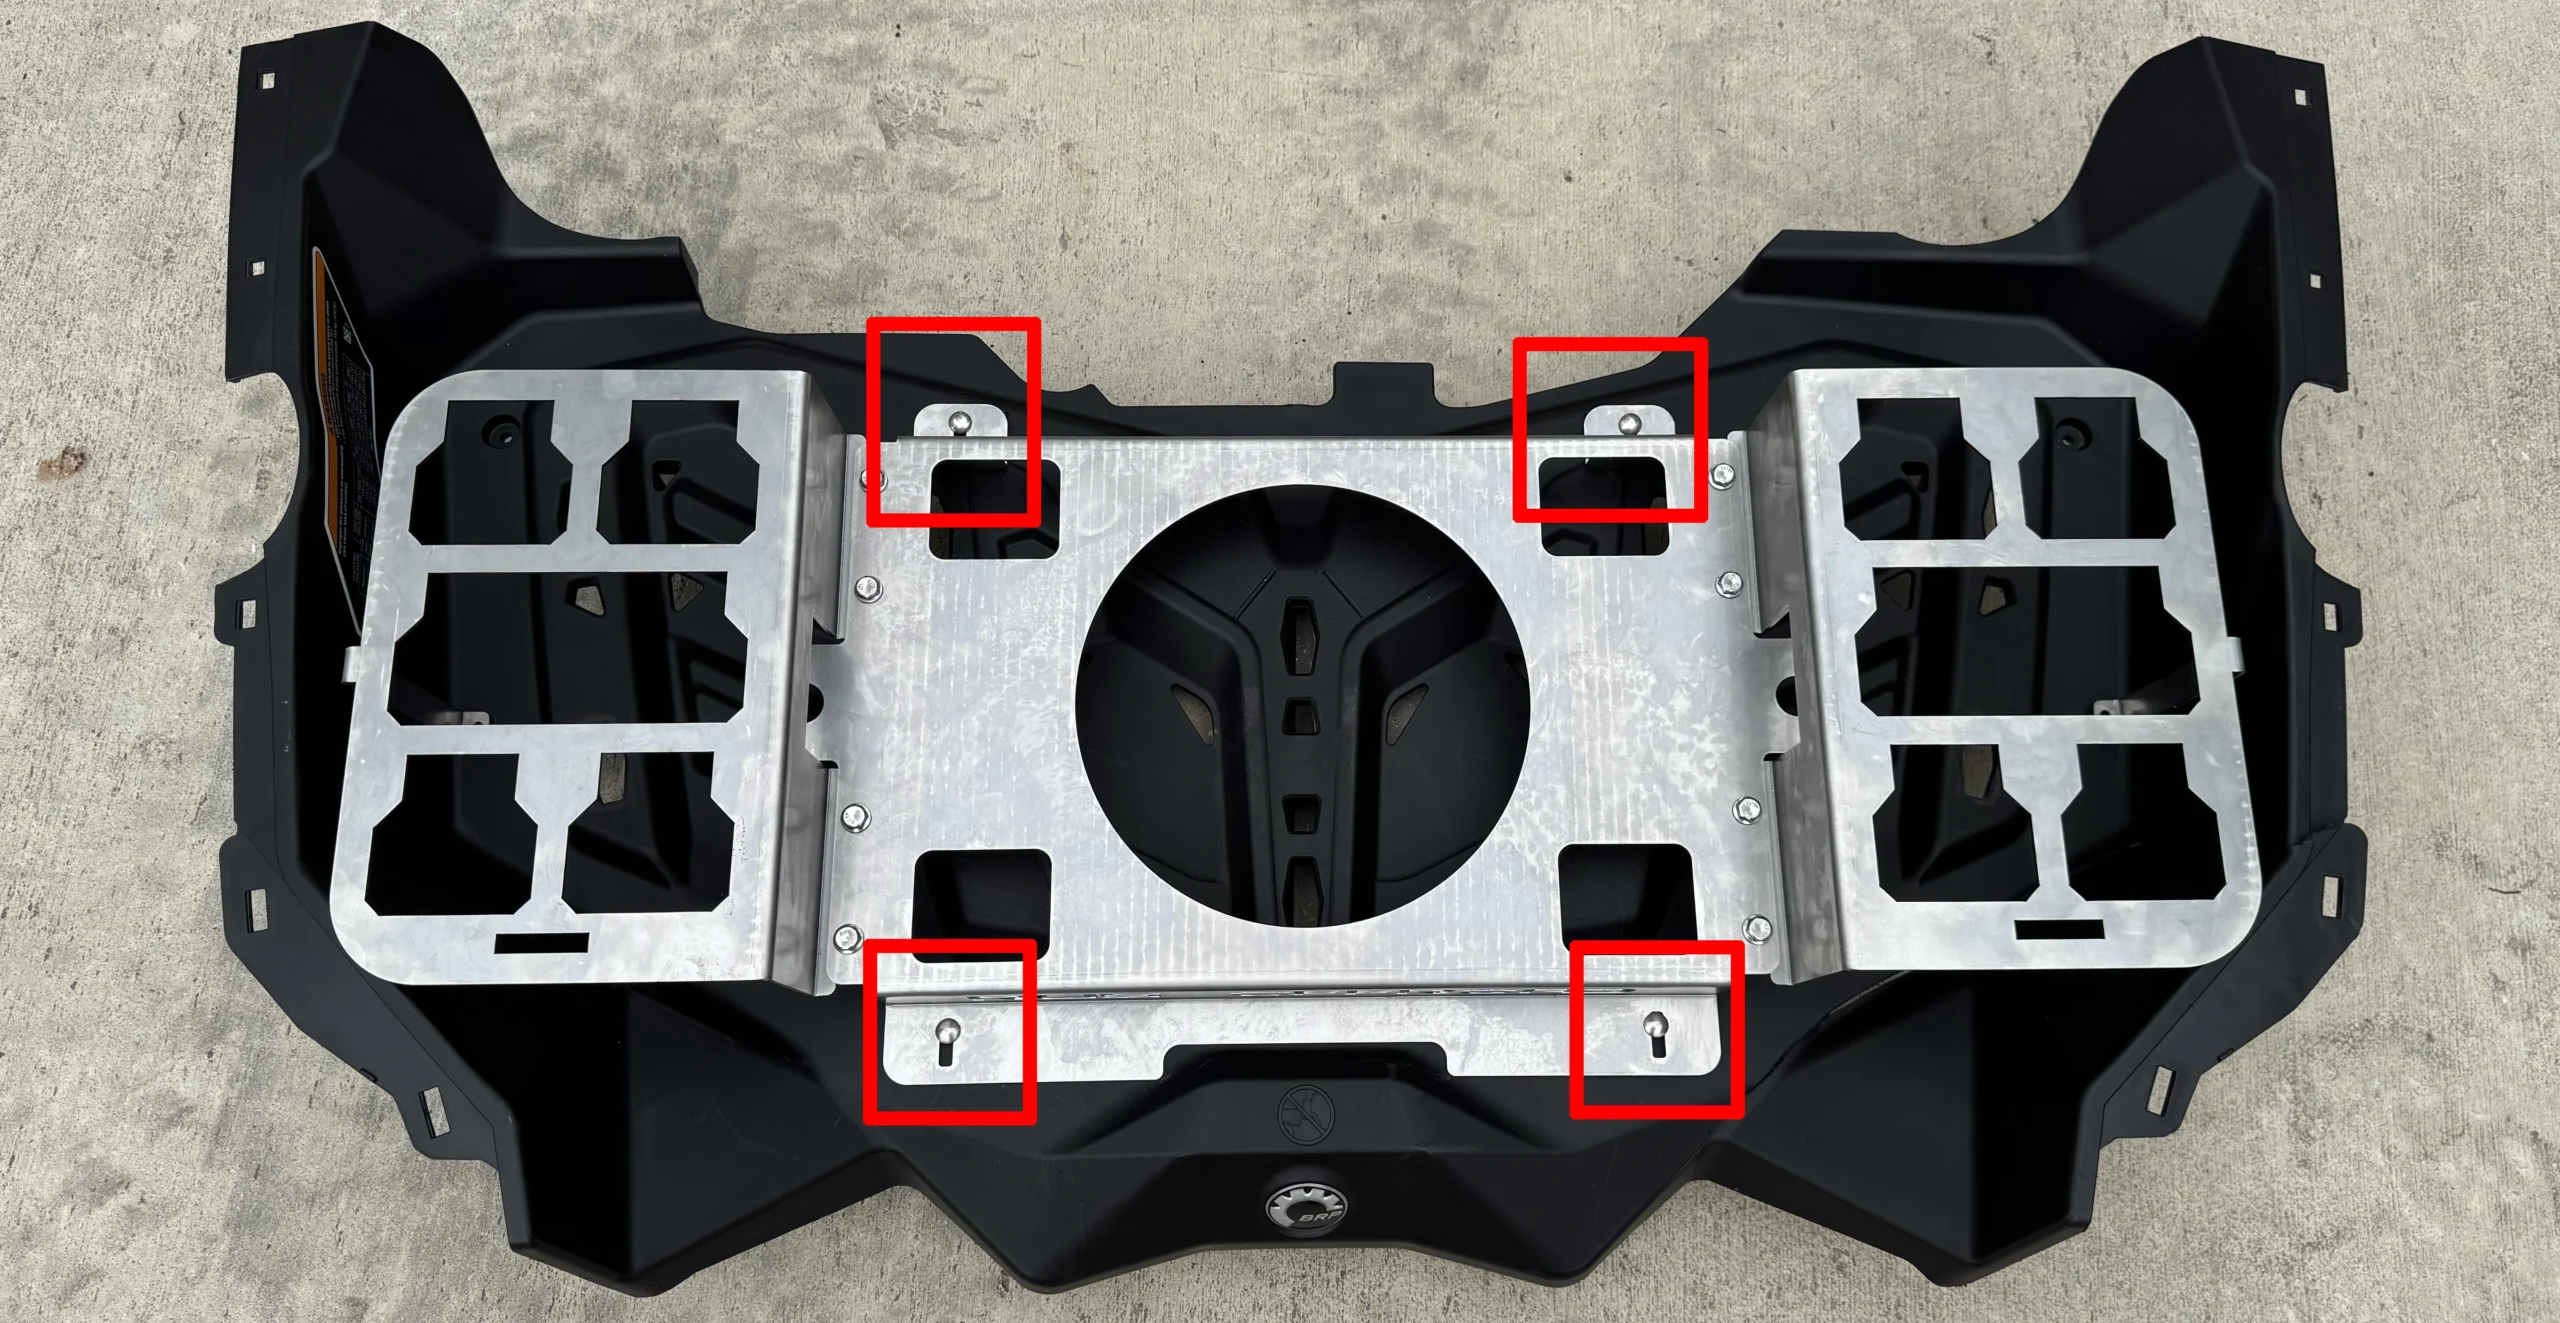
- Place Yeti Mount in bed and align the holes on the mount, with the factory holes in the bed.
- Using Provided 1/4 x 3in Carriage Bolts, push them through the holes and install washer and lock nut on the bottom.
- Once all 4 are installed, tighten.
Step 2:
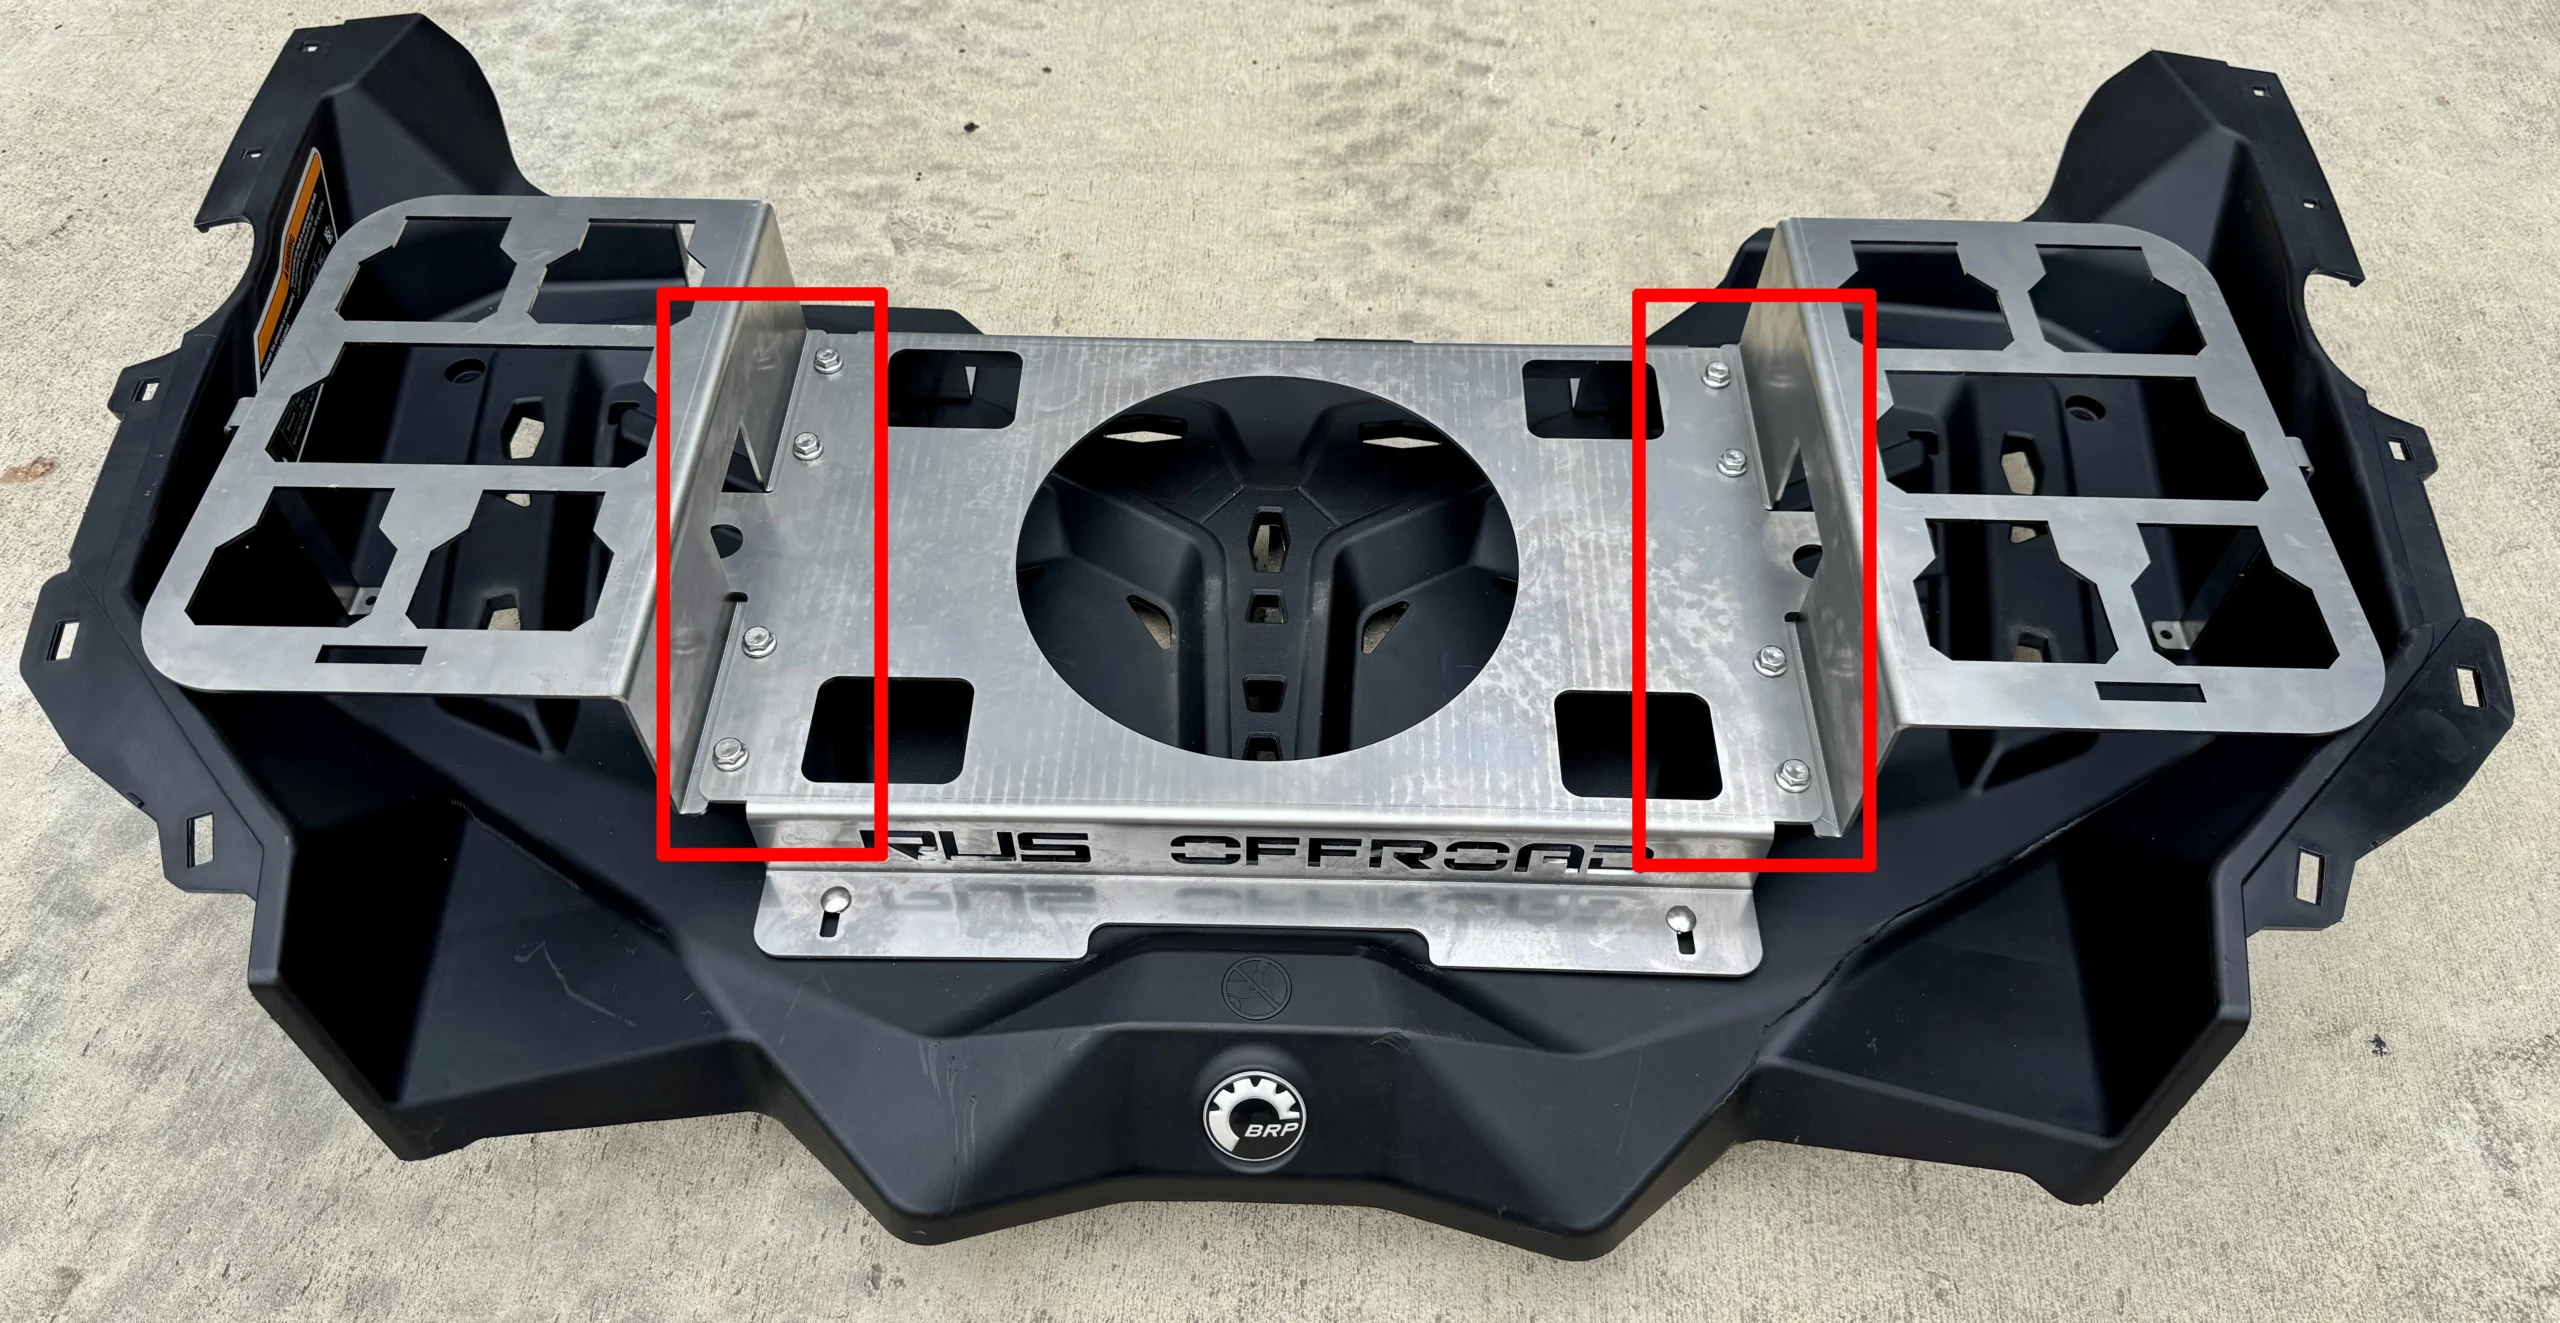
- Align the Packout Mount holes on the BOTTOM of the Yeti Mount.
- Push the provided M8 bolts through the holes, and install a washer and lock nut on the bottom.
- Repeat for other side
Step 3:
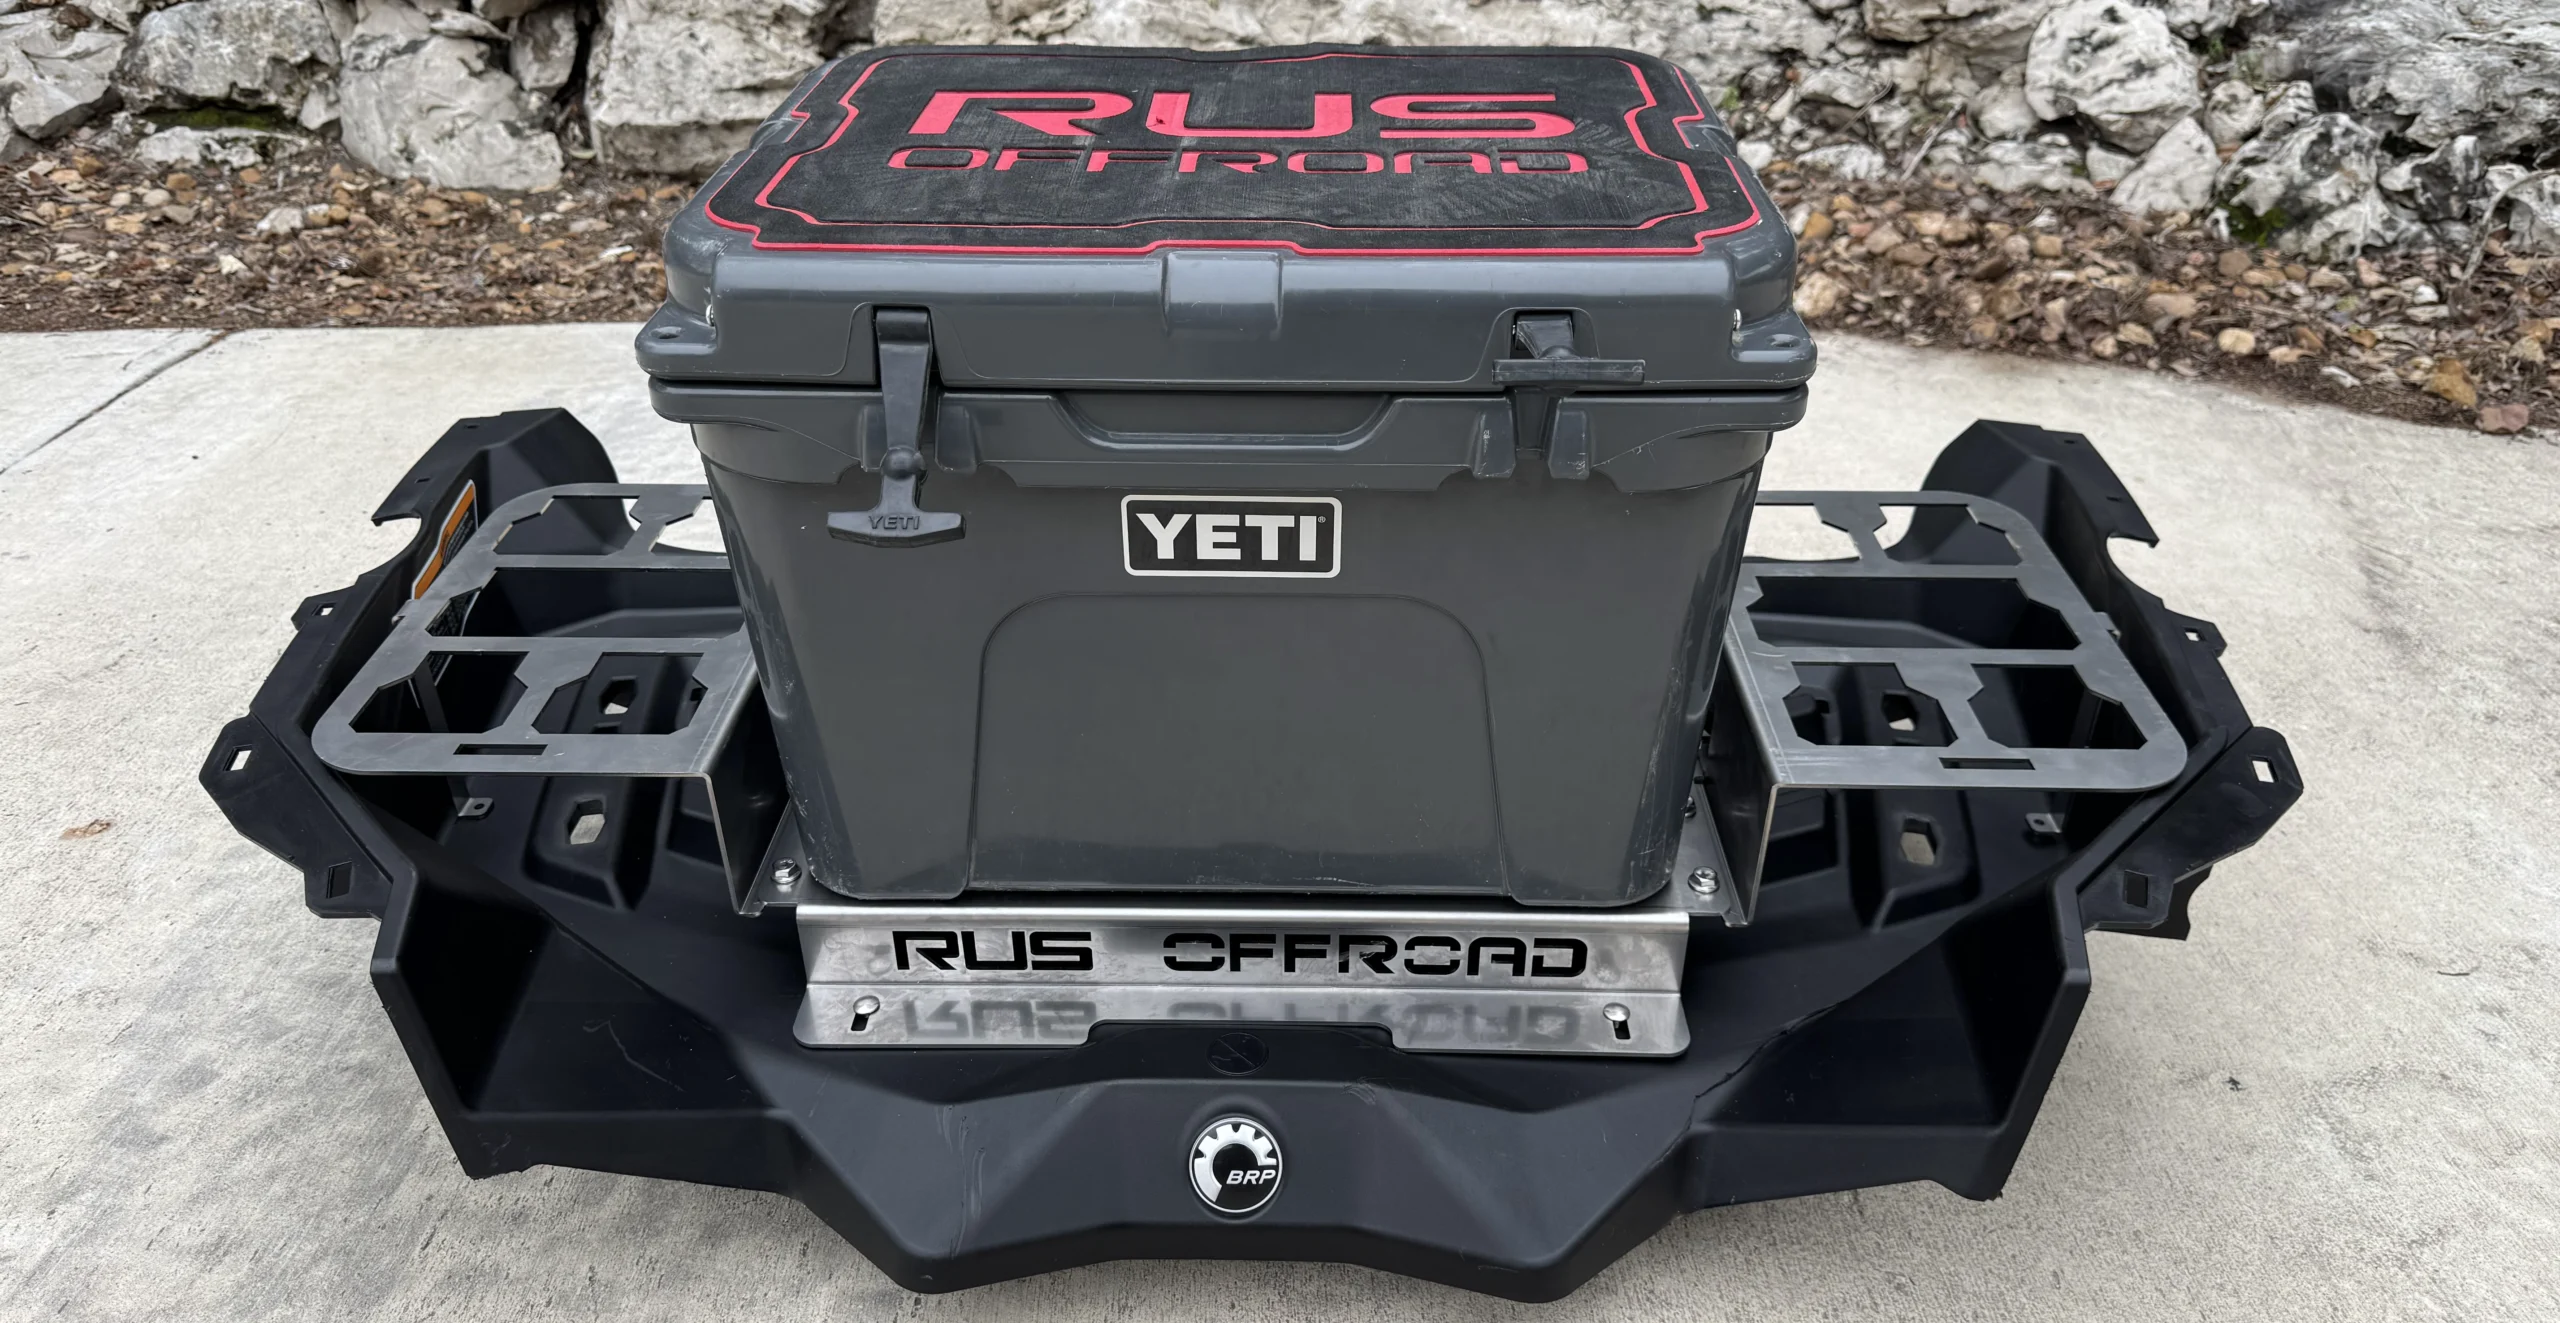
- Place the Yeti 35 Quart Tundra Cooler on the Yeti Mount, ensuring that the feet of the cooler fall into the cutouts on the Yeti Mount.
Step 4:
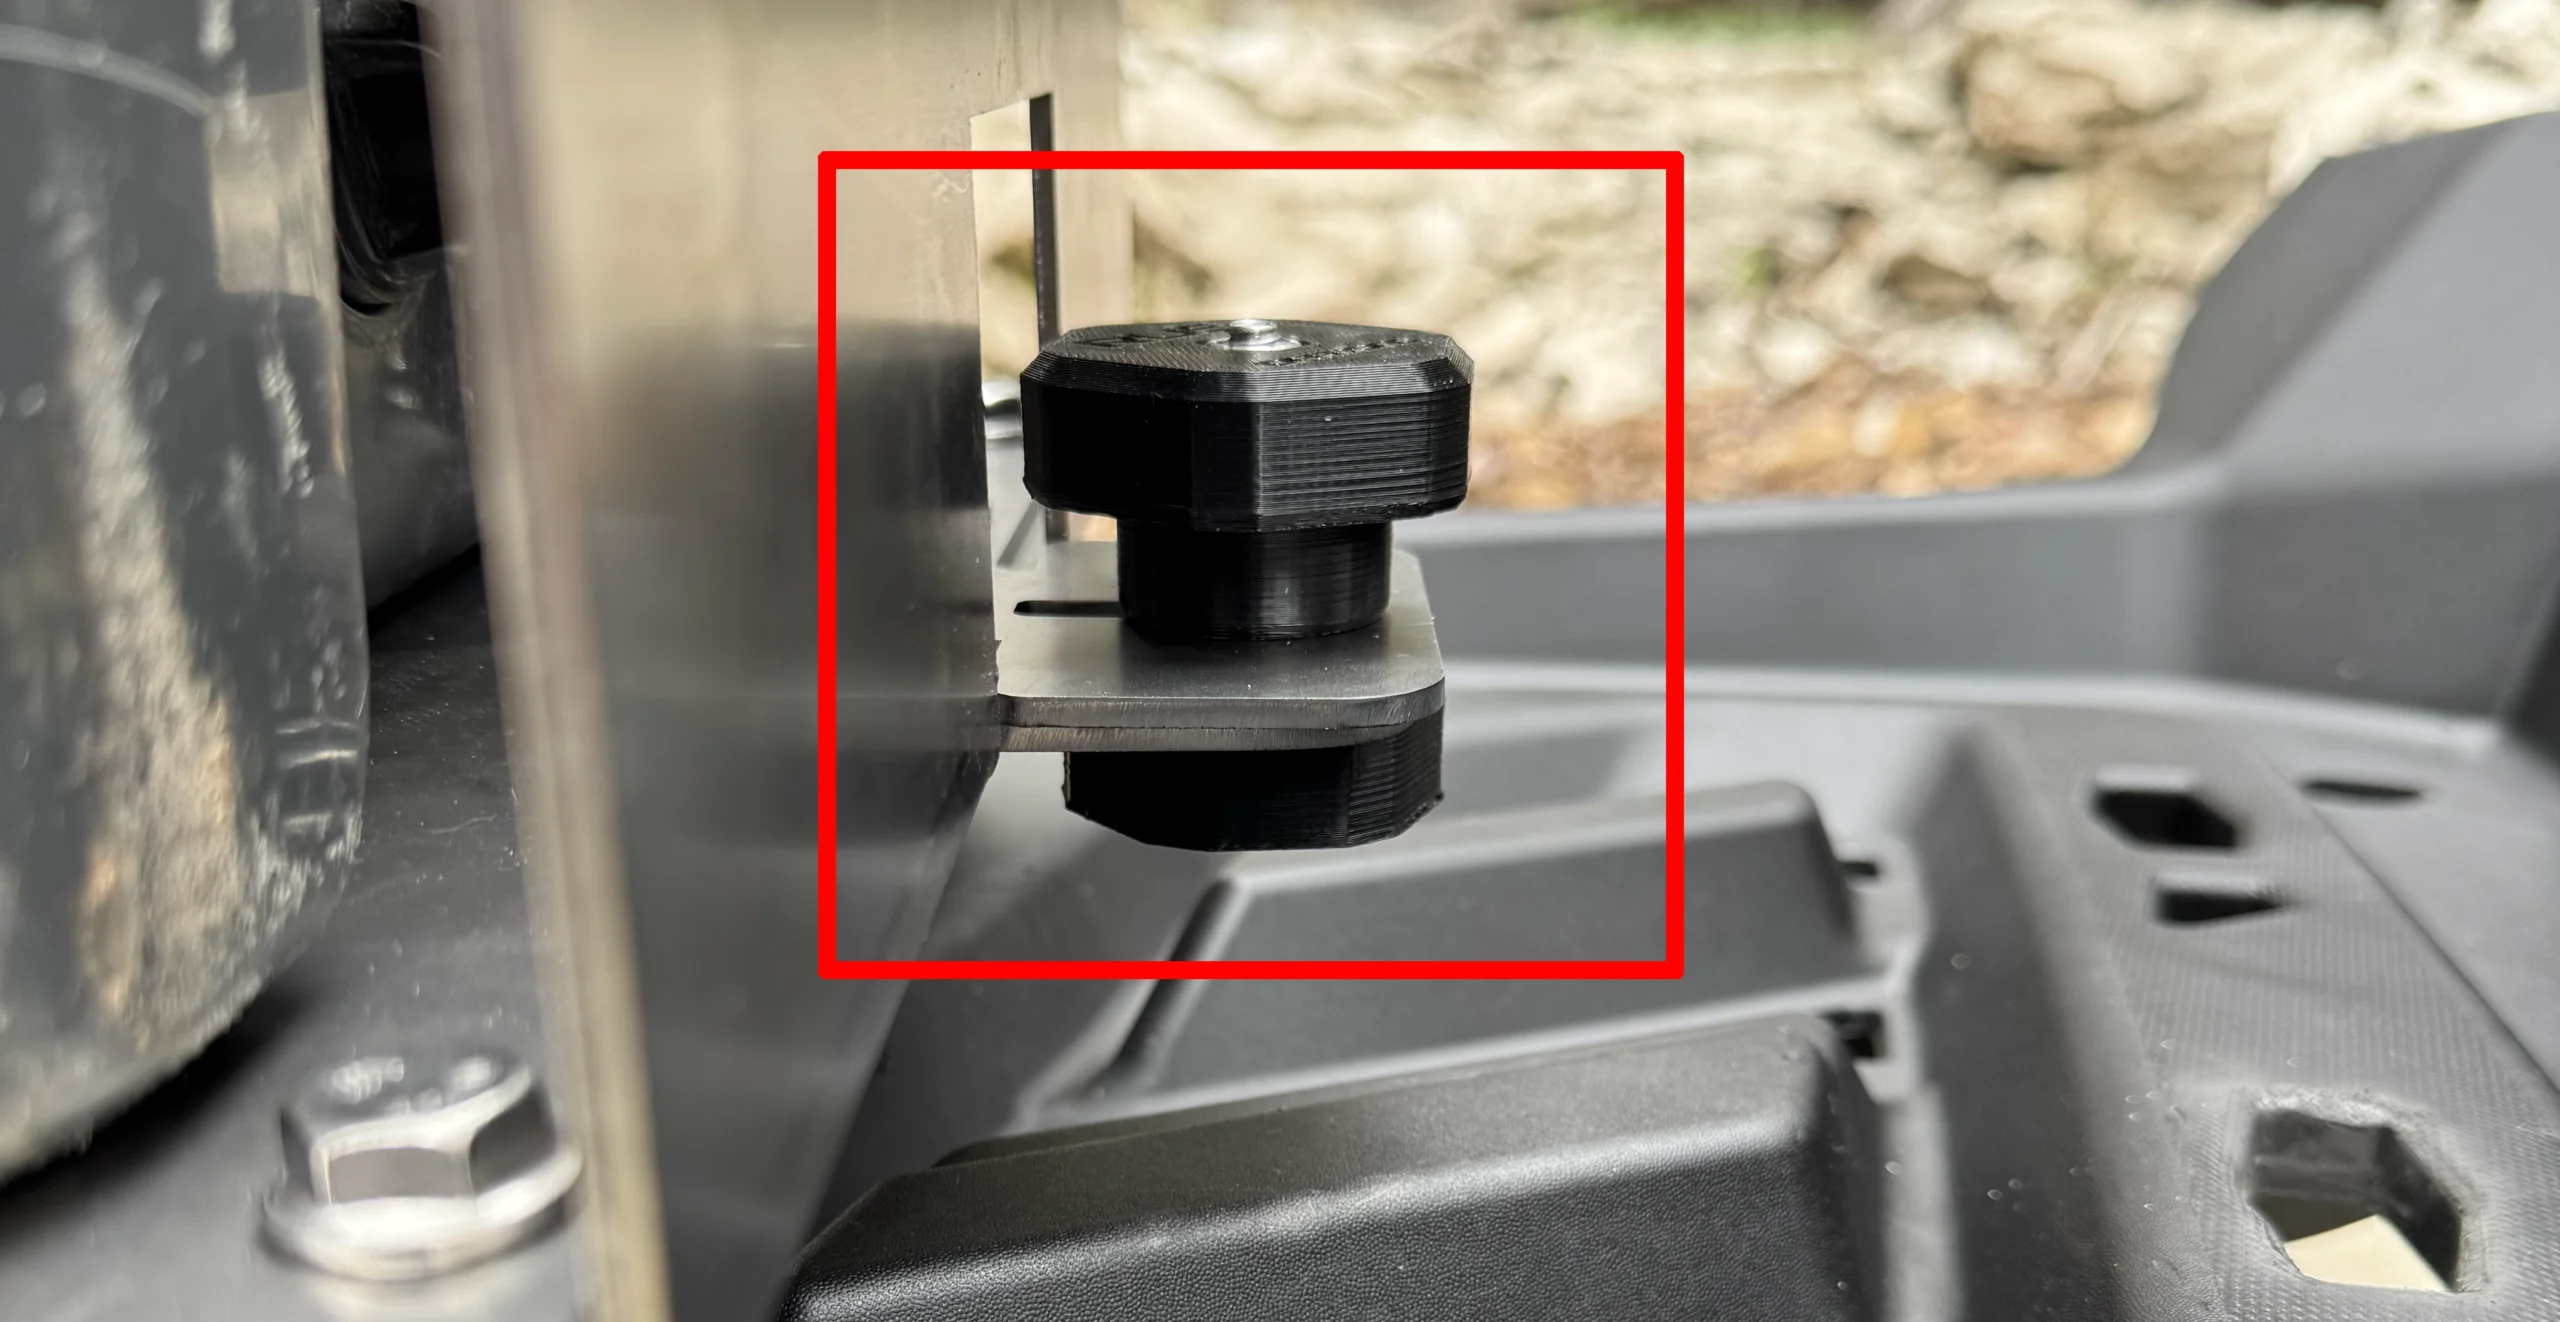
- Place the Yeti Mount “Hook” Bracket inside the Yeti, and align the bottom of the “Hook” Bracket to the hole at the base.
- Insert the Bottom Part of the anchor (with bolt) up though the Yeti Mount and Yeti Hook. Thread on Anchor top until snug.
- NOTE: Check this connection regularly to ensure it doesn’t come loose.
Step 5 (Optional but recommended):
- Using a 1/4 drill bit, drill a hole in the bed, using the Packout Mount support as a guide.
- Insert M6 Button Cap bolt though the hole, and install locknut and washer on the bottom.
- Repeat on the other side.
Step 7:
- Fill cooler with you favorite trail soda and SEND IT!
Thanks for your business!

